
Protect your home from water damage by maintaining proper flashing around chimneys and skylights. Roofers emphasize secure attachment, sealing, and regular inspections to prevent costly repairs. When deciding between repair or replacement, assess damage like cracks, corrosion, or water stains. A professional roofer will guide you through the process of replacing flashing with safety, precision, and durable materials. Regular annual maintenance by homeowners ensures optimal lifespan, structural integrity, and protection against moisture intrusion.
“Ensuring the integrity of your chimney and skylight flashing is vital for protecting your home from water damage. This comprehensive guide, tailored for roopers, delves into the essential maintenance and repair of these critical components. We explore the role of flashing, common issues, and how to distinguish when to repair or replace. With step-by-step replacement instructions and expert tips on longevity, you’ll be equipped to provide long-lasting solutions for your roofing needs.”
- Understanding Flashing: Its Role and Common Issues
- When to Repair vs Replace: Evaluating the Damage
- The Replacement Process: Step-by-Step Guide for Rooftop Professionals
- Maintenance Tips: Ensuring Longevity of Flashing Repairs or Replacements
Understanding Flashing: Its Role and Common Issues

Flashing, a crucial component in roofing systems, plays a vital role in protecting your home from water intrusion and damage. It’s a thin layer of material designed to seal the joints and openings around chimneys, skylights, and other protrusions on your roof. This is especially important as these areas can be vulnerable to leaks due to their elevated positions and potential for temperature extremes.
Common issues with flashing include deterioration caused by exposure to harsh weather conditions, loose or missing pieces leading to water seepage, and improper installation. A roofer should ensure that flashing is securely attached and sealed to prevent any gaps or weaknesses that could result in costly repairs due to water damage below. Regular inspections can help identify these problems early on, making it easier and more cost-effective to repair or replace the flashing before further complications arise.
When to Repair vs Replace: Evaluating the Damage
When determining whether to repair or replace flashing around chimneys and skylights, roofer professionals recommend evaluating the extent of the damage. Start by inspecting the condition of the existing flashing. If it’s merely cracked, corroded, or loose, a simple repair might be all that’s needed. Roofers can replace damaged sections with new flashing, ensuring a secure seal against moisture intrusion.
However, if the flashing is extensively damaged, decomposed, or if water stains are prevalent on your ceiling or walls, it may indicate more severe issues. In such cases, replacement might be the best course of action. A roofer will assess whether the entire flashing system requires updating, recommending durable materials to prevent future problems and ensure the integrity of your roof structure.
The Replacement Process: Step-by-Step Guide for Rooftop Professionals

When it comes to rooftop repairs, replacing flashing around chimneys and skylights is a crucial task for any roofer. Here’s a step-by-step guide for professionals tackling this work:
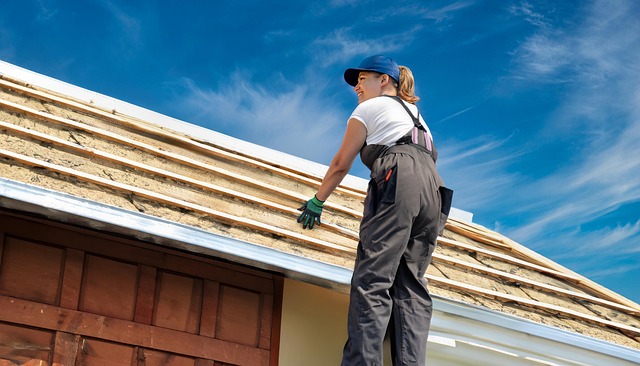
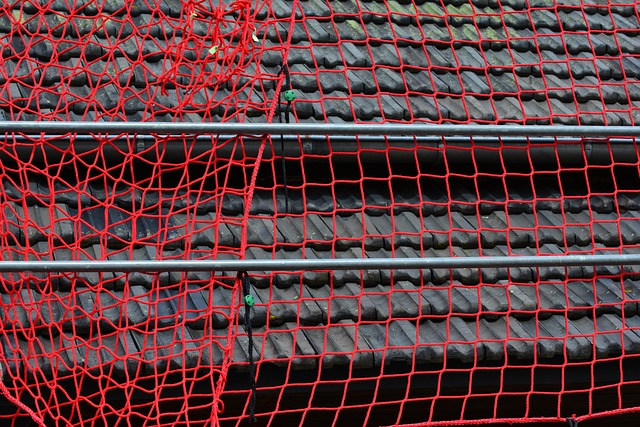
1. Safety First: Before beginning, ensure proper safety measures are in place. This includes wearing protective gear, setting up a safe workspace, and securing the area to prevent accidents.
2. Inspect and Assess: Carefully examine the existing flashing for damage, corrosion, or signs of wear. Identify the type of flashing material used (often metal) and take note of any unique installation details specific to the chimney or skylight.
3. Remove Old Flashing: Using specialized tools, carefully peel back and remove the old flashing. This step requires precision to avoid damaging the surrounding roof or fixtures.
4. Prepare Surface: Clean the area thoroughly, removing all debris, rust, or remaining adhesive. Ensure the surface is dry and free from contaminants for optimal adhesion during installation.
5. Measure and Cut New Flashing: Based on the inspection and measurements, cut new flashing material to fit precisely around the chimney or skylight. The goal is a snug, sealed fit.
6. Install Flashing: Apply a suitable adhesive or sealant to secure the new flashing in place. Use specialized tools to ensure proper placement and compression for a watertight seal.
7. Inspect and Seal: After installation, double-check for any gaps or misalignments. Reinforce seals with additional caulk or sealant if needed.
Maintenance Tips: Ensuring Longevity of Flashing Repairs or Replacements
Regular maintenance is key to extending the lifespan of flashing around chimneys and skylights. Homeowners should inspect these areas at least once a year, looking for signs of damage, corrosion, or erosion. Early detection of issues can prevent small problems from turning into costly repairs. A roofer can provide guidance on the best maintenance practices and perform necessary repairs or replacements to ensure optimal protection against water intrusion.
During maintenance checks, focus on sealing any gaps or cracks that may have formed over time. Keep an eye out for loose or damaged flashing, as these are common problem areas. Promptly addressing these issues will safeguard your home from potential water damage and structural problems caused by leaks. Regular maintenance not only extends the life of your flashing but also preserves the overall integrity of your roof and the upper sections of your home.
When it comes to chimney and skylight flashing repairs or replacements, roopers play a vital role in ensuring your home’s protection against water damage. By understanding the importance of flashing, recognizing common issues, and knowing when to repair or replace, you can extend the lifespan of these essential components. Following the step-by-step replacement guide ensures proper installation, while regular maintenance tips help keep flashing in top condition. Remember, a rooper’s expertise is crucial for navigating this intricate process, ensuring your home remains protected for years to come.