
Roofer preparing for an inspection must pack essential tools, consider weather, review property history, identify problem areas, and communicate with owners. Basic toolkit includes ladders, safety gear, moisture meters, and cameras; advanced equipment like drones and thermal imaging enhance accuracy. Prioritize safety by wearing protective gear, staying hydrated, assessing structural integrity, and inspecting from underside to apex to ensure well-being and reliable work.
“Ensure your home’s protective shield remains intact with a comprehensive roof inspection. This guide equips roofers and homeowners alike with the knowledge to assess roofs for leaks, decay, and structural soundness. From preparing essential tools and implementing safety measures to navigating complex roof topias, we break down each step. Learn how to identify water damage, detect signs of deterioration, and evaluate support systems crucial for a safe, durable roof. Discover maintenance recommendations based on findings, ensuring your roof’s longevity.”
Preparation for Roof Inspection
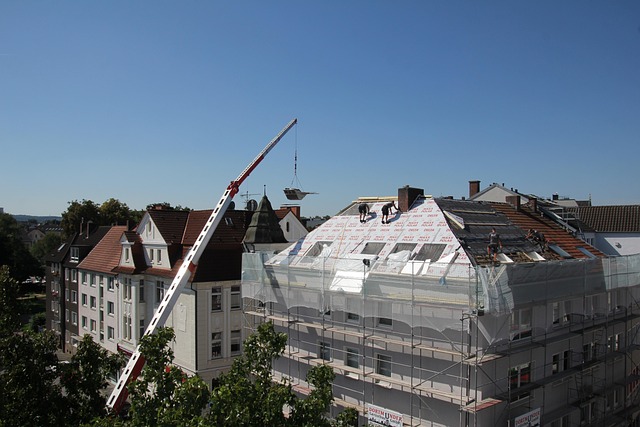
Before a roofer commences an inspection, proper preparation is key to ensuring a thorough and accurate assessment. The first step is to gather all necessary tools and equipment, including ladders, safety gear, and a detailed checklist of areas to inspect. It’s crucial to assess accessibility; some roofs may require specialized equipment or techniques for safe entry. Weather conditions also play a significant role; ideal conditions offer clear visibility and stable access, while adverse weather might necessitate rescheduling.
Additionally, reviewing the property’s history and previous maintenance records can provide valuable insights. Identifying potential problem areas, such as old shingles or flashing, allows the roofer to focus their attention and deliver more precise findings. Effective communication with the property owner is essential; understanding their concerns and expectations enables a more tailored and informative inspection process.
– Tools and equipment needed
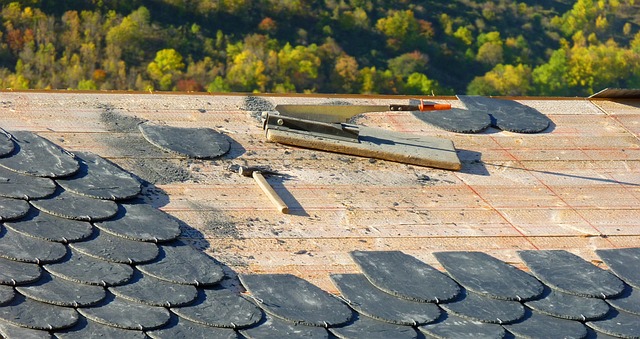
When it comes to inspecting roofs for leaks, decay, and structural integrity, a roofer’s toolkit is essential. Basic tools include a ladder, safety gear like gloves and eye protection, and a moisture meter to detect any wetness indicative of leaks. A digital camera is also crucial for documenting issues found during the inspection, serving as visual evidence for insurance claims or future references.
For more in-depth assessments, specialized equipment such as a drone can provide aerial views, aiding in identifying problem areas hard to reach on foot. Thermal imaging cameras are another valuable asset, helping to uncover hidden leaks by detecting temperature variations that indicate moisture intrusion. These tools empower roofers to conduct thorough inspections, ensuring the safety and effectiveness of their work.
– Safety measures and precautions
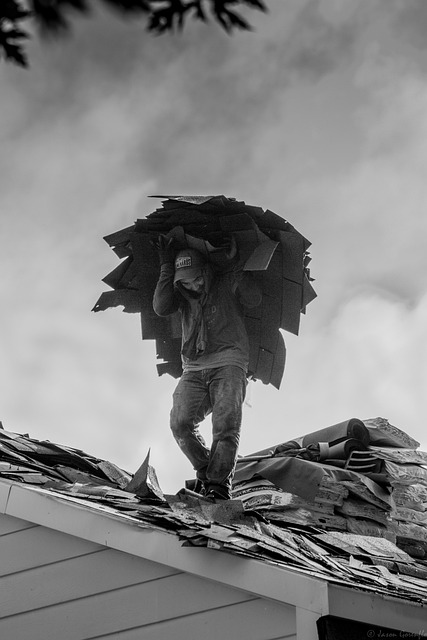
Before beginning any roof inspection, safety should be the roofer’s top priority. It’s crucial to wear appropriate protective gear, including a hard hat, safety glasses, and sturdy shoes. Always inspect roofs with a companion for added security, especially if working on a steep or complex structure. Regularly maintaining a clear head and staying hydrated are essential aspects of ensuring safe work practices.
Additionally, it’s vital to assess the structural integrity of the roof before beginning any repair work. Roofers should be trained to look out for signs of decay, weakened supports, or damaged shingles. A thorough inspection involves climbing up safely and examining every part of the roof, from the underside to the apex. By adhering to these safety measures, roofers can ensure their own well-being and that of their clients.
A thorough roof inspection by a qualified roofer is an essential step in maintaining your home’s integrity. By equipping yourself with the right tools, understanding safety protocols, and regularly assessing for leaks, decay, and structural issues, you can ensure your roof remains robust and protect against costly repairs down the line.